The race is on and frankly I have no way of knowing if I will win it.
Bloody epoxy takes so long to go off and according to the strange man at Barton Marine I need three layers of epoxy, three layers of varnish with sanding in between. When I’m painting I need to apply a special undercoat and top coat which ‘bind’ together and each of .
I did a quick and dirty spreadsheet listing all the tasks I have left, and I’m at least a day short – if not more.
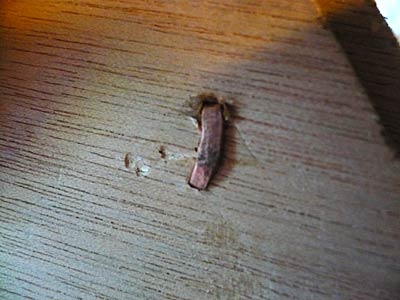
Nevertheless progress has been steady. Over the weekend I finished making the insides of the sealed compartments watertight (I think) plus laid the deck onto the structure. I was worried about this part. To do it I needed to glue all areas that came into contact with the deck, and I needed to clinch the nails in the bow. The nails in question were some beautiful copper flat heads (kind of) that I purchased at considerable expense from Barton Marine.
I found a technique for clinching online (where else?) but I had no idea if it was going to work. First I drilled a small hole for the nail, through both pieces of ply. Then I drove the nail through, clamping close to where the nail went through to keep the glue and wood tight. Then, taking round nosed pliers I bent the end of the nail back on itself making a kind of staple. With two hammers, one in each hand, I drove the end of the nail back into the ply across the grain, while keeping the head of the nail close to the wood.
This technique proved to be incredibly successful and I achieved a solid bond all the way around.
Next I trimmed all edges of the ply that overhung the structure so that all edges were straight and flush. I then started fibre-glassing the top edge. This was easy but the drying process slows it down.
Tonight I cut and shaped the coamings. These are the pieces of timber that stop the water rushing over the sides at the back of the boat. They were glued and screwed. As well, the motor-board is firmly in place.
To all intents and purposes it looks completely like a boat – which is a relief.
Here are a few more pictures of my effort.


